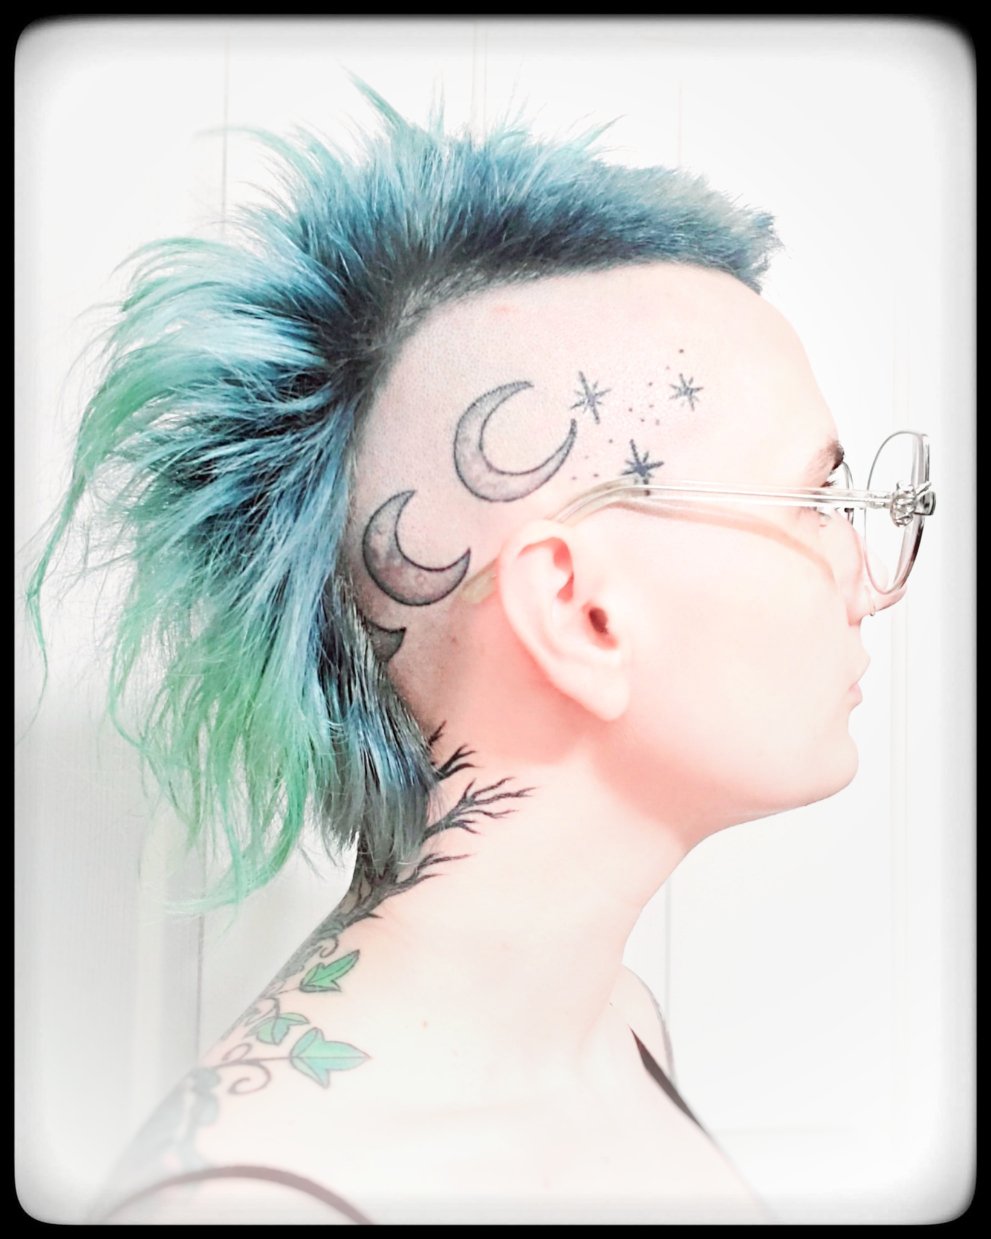
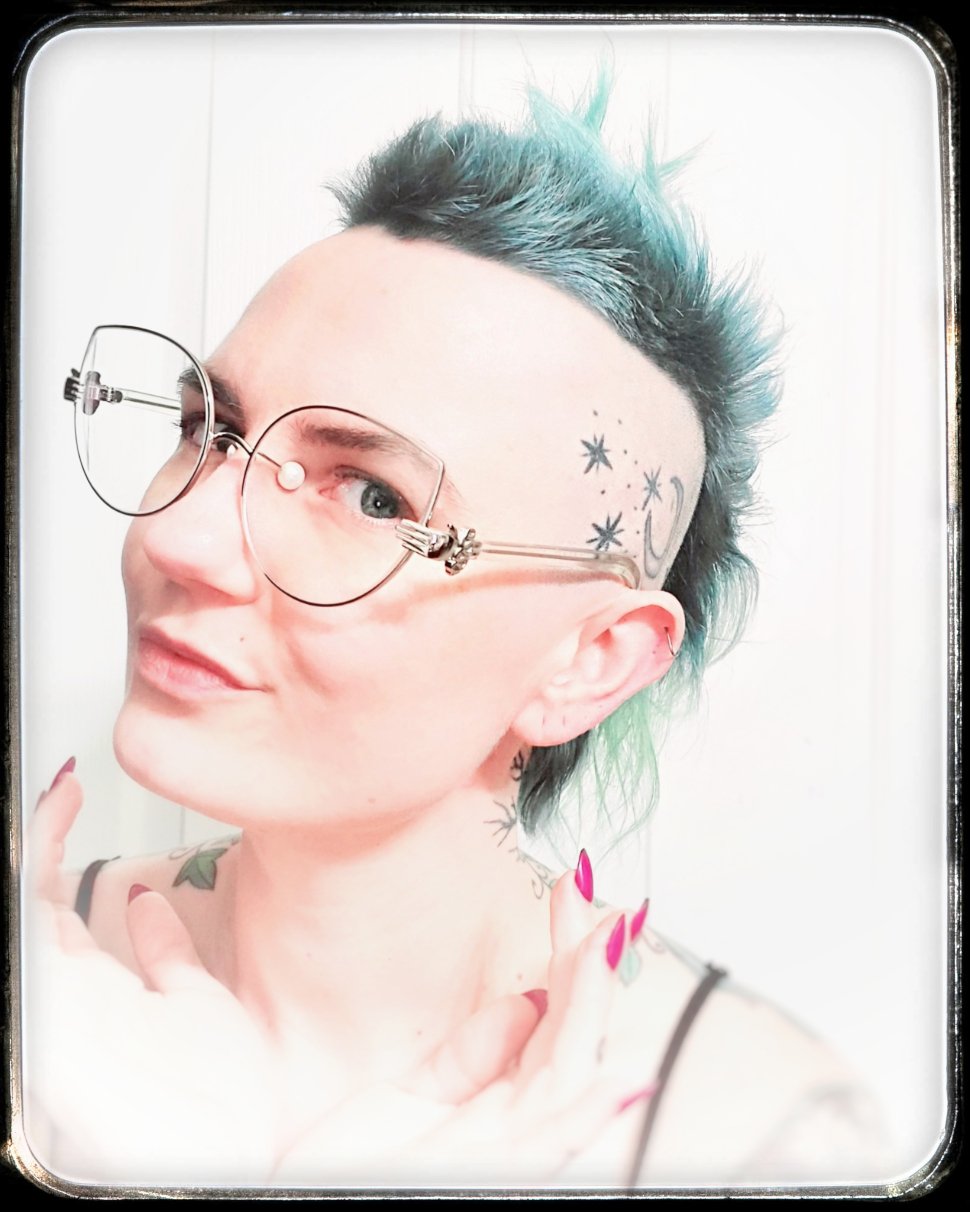
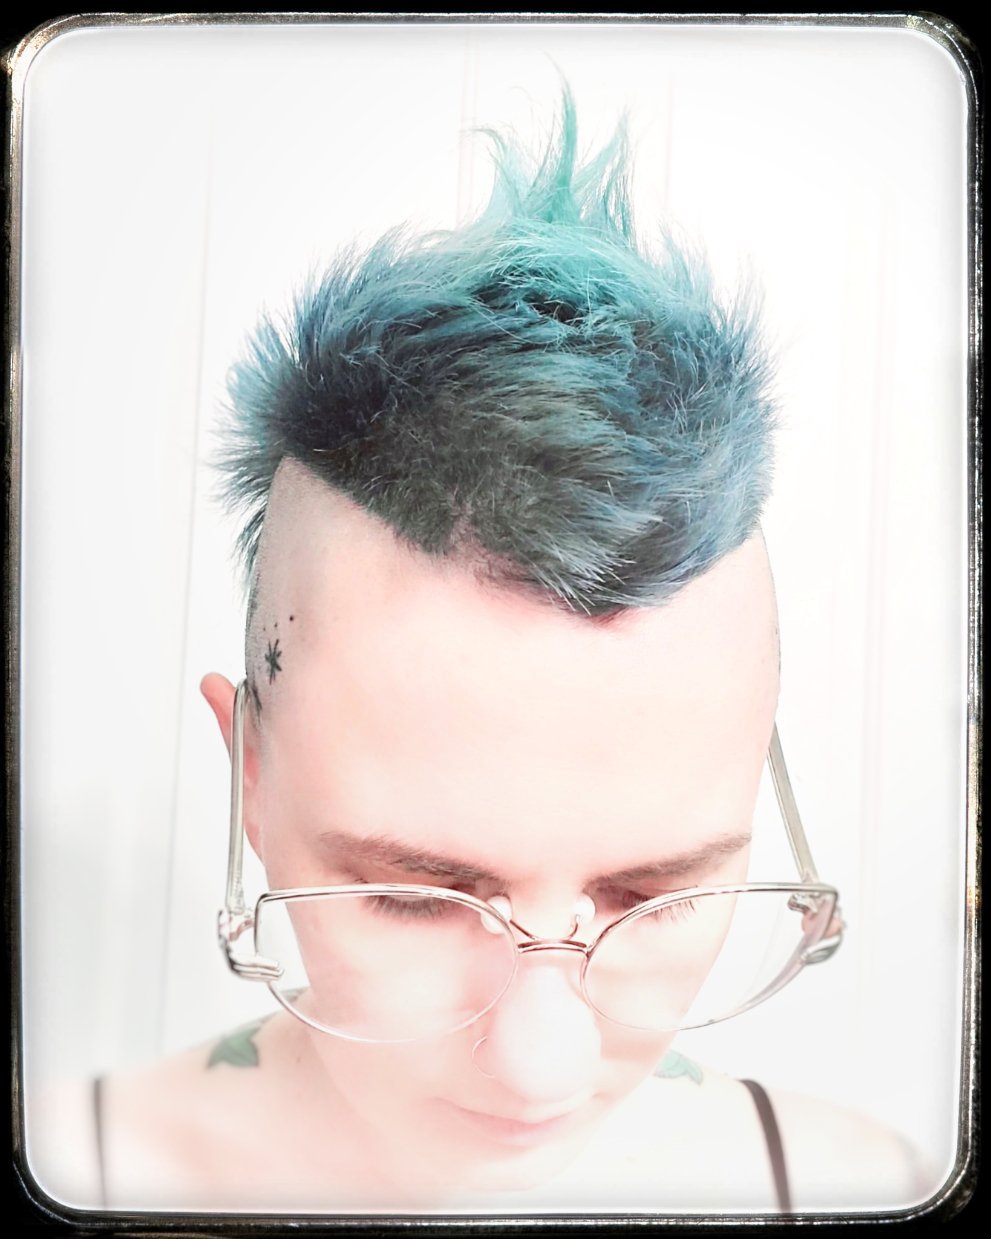
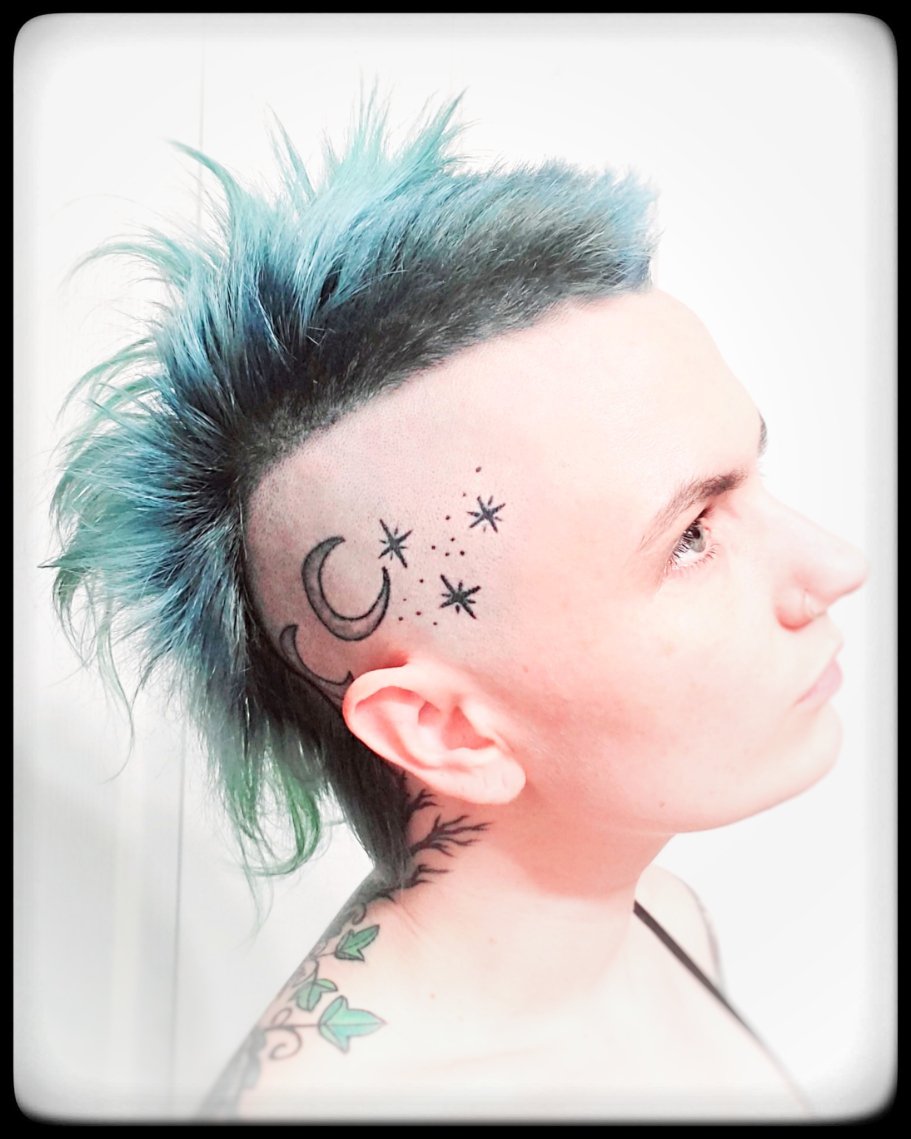
How to diy your mohawk in quarantine
Note: This is a repost of a blog from my old site, originally published April 19th 2020Hello, it’s been a while...
I know being in quarantine for a month has made me want to regain control over something, anything. Hair is usually the first place people start when they feel like this. It is exactly what made me start messing with my hair to begin with around age 12.
So you’ve decided to cut your own hair?
That’s great! I support this!
This blog is about how groom your attitude, manage your expectations, and have the most fun with the process. As such, you could apply it to any DIY haircut model. I’ve chosen to give myself a mohawk, one of my go-to’s from my teenage years...
Teen 𝖎𝖆𝖓𝖆 with
DIY lavender mohawk
”Back to Cool”
Austin Chronicle 2002
During these surreal times I missed giving myself intuitive haircuts the way I used to when I was 14. This is not about professional instruction, it's a love letter to my teenage years. Enjoying the process without a particular end goal. Even professionals are cutting their own hair right now, so this is also about the elegant humility of the situation. An even playing field. Cutting your own hair is hard, even for a professional.
I like my DIY cuts like I (used to) like my martinis, Dry and Dirty. In my opinion it’s best to do this cutting method on dirty hair. You will want to wash it after the mess anyway.
You can think of this as a spell, if you like. I always do.
Take your time creating the environment for this spellwork, making sure it feels right. The right tools DO help but they aren’t the point. The point is to nourish how you feel.
Below is my selfie-cut soundtrack and suggested materials.
Suggested Tools:
cutting shears
texture shears
razor comb
trimmers or clippers
clippercide
squirt bottle
duckbill clips
tail comb
or my favorite comb
Other suggestions:
wall mounted mirror
capes if you want one
barbicide kills viruses btw
Step 1
Put on the most punk music you can find. If you don’t know what punk music is, then what are you even doing here? loljk. Honestly I’m not gatekeeping, this isn’t about Team Clash vs Team Ramones (I’m Team Clash myself). This is about who inspires you to break the rules. Maybe that’s Johnny Cash or Cyndi Lauper or fucking Mozart.
If punk is truly an attitude then why pigeonhole your soundtrack to “punk music”? Who makes you feel invincible?
{link to all of my Spotify lists if you fancy a look}
Step 2
Get naked. It’s okay, you’re alone in quarantine, no one is looking. Not only is this step practical, your hair will just get all over your clothes anyway... But this step is important to connect to your inner FERAL child. The clothing and makeup are merely adornments to the human animal. But what do you want this animal to look like? Being naked helps manifest this concept into the physical plane.
Besides, witches know that important spellwork is done skyclad.
Step 3
Section your hair with the flat corner of a wide comb or ideally a tail comb. If you don’t have one it’s okay. Use a fork, dinglehopper style. Punk!
Take your time sectioning. Start with the widest version of your cut, you can always take more off.
Drag the comb (or fork or skewer or paperclip or whatever) along your scalp. Draw a straight line with it. You don’t fully need to look at it as you do. Usually I feel with my skin whether it is a straight line or not.
There’s two main types of mohawk profile lines. A smooth round curve or a boxy square. Pick your favorite or do a squigly one, it doesn’t matter because I can always fix it for you later.
Once you have your section, take the hair you’re keeping and secure it with a hair tie or duckbill clips or both depending on length. Keep it tight, and as out of the way as possible.
Pro tip: if you wanna be real precise about keeping the baby hairs out of the way, you can tape down your hairline with duct tape. Yes duct tape. It’s the only thing that will actually stick to dirty hair. Yes, it does hurt to remove! But it gets the job done if you need extra help keeping those lines in place. Follow this advice at your own risk.
Step 4
Prepare the ceremonial area. Before you get messy (probably before you get naked if you live with others), make sure the bathroom is a little clean. Hair is about to get everywhere and having to clean around stuff afterwards sucks. It doesn’t have to be spotless (although that’s nice), but take stuff off the counters and pick up the bathmats and put them all somewhere else, outside of the danger zone.
Make sure your tools are laid out on the counter. Whatever you picked from my tool list: shears, clippers, combs, spray bottle, clips, mirrors, clipper oil or clippercide, and a clipper brush or an old toothbrush for keeping the hair junk out of your blades.
A note on mirrors: It is ideal to have a hands-free mirror set up. It doesn’t have to be permanent, but stable enough to last the duration of this process. I hold one with my hand because I’m a cocky professional, but you have a better chance at success when you can use both hands on cutting.
Once the area is prepared, take a moment to center and ground yourself. Remember the vision of yourself as a feral human animal.
Step 5
Cut the long bits off the sides before shaving anything. You do not want to shave anything with clippers when it is longer than an inch. I’m a weirdo so if it’s a really long piece I braid it and save it as a tail. Don’t ask me why.
Step 6
Pick a guard, any guard. Decide how long you want the shaved sides to be. My preferred guard is nothing, a zero. It lasts the longest, and it makes it easy to straighten up the lines of the mohawk.
Step 7
Begin! I use a skinnier type of clippers called a trimmer, it helps with these curved lines. I always use on dry hair. I flip it upside down to start at the front and work my way back. Starting with the flipped flat edge to the hairline of the long section, and “mowing” downwards towards the ears. Hold your skin flat in the curviest areas. I leave a little “pencil mustache” along the hairline and do all the easy stuff first, coming back to concentrate on the hairline at the very end. Pay attention to your neck hair, a lot of people forget that area.
Remember to brush the hair out of the clipper blades regularly and spray with clippercide or oil afterwards.
See the process video below to watch steps 7-10.
Step 8
Enjoy the little things. Take your time with it. Do you like this song? Stop to sing along if you need to. You honestly have all the time in the world, you don’t even have to finish this haircut project today. No one is going to see you unless you live with them or you’re accepting a delivery... It’s quite freeing to have no time constraints for a change. This is what it felt like when I cut my own hair as a teenager, as I didn’t have anything better to do.
Step 9
When you’re fairly sure you’re done with the sides, take down the long part. How does it look? Maybe it’s fine the way it is. If not, continue to cut that. I use hair shears and a razor comb. FOR THE LOVE OF ALL THAT IS HOLY DO NOT USE PAPER SCISSORS. Do what you want, but dull scissors will only make the task more difficult. Sort of like how you are more likely to slice your finger trying to cut a tomato with a dull knife. If you opt for the razor comb like I did, make sure your hair is spritzed damp. Cutting with a razor on dry hair causes unwanted unnecessary damage.
Step 10
Glow up. Unpin everything and take a look at your masterpiece. Admire this majestic creature before you. You did that, good job!
Check for anything asymmetrical (unless you want that). I measure my length without looking; I use both hands on the same section of each side and slide it along the hair... if they reach the same point at the same time they are approximately close enough. I also check the symmetry of the hairline without looking; I place my finger on the point of my scalp where the clippered part meets the long hair, I do this to mirrored locations on both sides and close my eyes... if they feel like they are in the same place then I’m good to go. If they feel uneven then I have more work to do.
These are the fiddly bits that appeal to my OCD but if you don’t feel like doing them, that’s fine. As I said, I can always even it out for you later.
Clean up all the hair from the work area before the next step, you’ll be glad you did.
Step 11
A type of Baptism. When you’re done, definitely wash your hair. The very practical purpose of this is to remove the thousands of prickly speckles of hairdust all over you, as the only way to get rid of them is a full wash. But in my metaphysical opinion, cleansing yourself is the best finale to any transformational spellwork.
Think about how you feel different as you cleanse the hair off. Remember that when you emerge from the bathroom, the creation of new human creature is complete.
Step 12
While hair is clean but still wet, apply a gratuitous amount of texture cream and let air dry (or blow dry if you fancy). I promise this will pay off when you wake up with epic bedhead tomorrow morning.
When you wake up with epic bedhead in the morning, take a selfie of your new achievement and tag me!
Results & Process video


I hope you learned something and had fun on this journey with me. Remember to be kind to yourself if you make a mistake... It’s just hair, it will grow back!

